
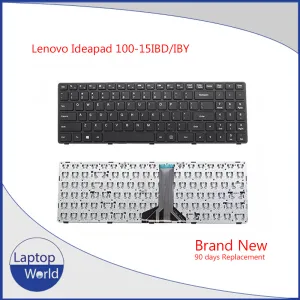
Description
Warranty Policy
- We declare warranty support will not accept any kind’s of physical damage, burn case, broken, products serial broken or time expiration.
- At least 07 days have to give us time for warranty support.
Step 1: Open the Case
Flip the laptop over and remove all visible screws from the bottom cover. Keep track of them; some may be different lengths.
Use a plastic pry tool to gently separate the bottom panel from the palm rest assembly, starting from the hinges.
Step 2: Disconnect the Battery (Crucial)
Locate the battery connector on the motherboard.
Slide the connector out carefully. Do not skip this step, or you risk shorting out the motherboard during the repair.
Remove the screws holding the battery in place and lift it out to create more working room.
Step 3: Remove Internal Components
Since the keyboard is pinned under the motherboard, you must clear the following:
Storage: Remove the SSD (and HDD if present).
Fans: Unplug the fan cable and remove the screws to lift out the cooling fan(s).
WLAN Card: Disconnect the tiny antenna cables and remove the screw.
I/O Boards: Remove any secondary circuit boards (like the USB/Power button board) on the sides.
Step 4: Remove the Motherboard
Disconnect all ribbon cables: Screen (EDP), touchpad, keyboard, backlight (the smaller ribbon), and speaker cables.
Unscrew the motherboard and carefully lift it out. Place it on an anti-static surface.
Hinges: You may need to unscrew the display hinges and tilt them back slightly to clear the edges of the keyboard assembly.
Step 5: Replace the Keyboard
The Shield: You will see a metal bracket or silver foil covering the back of the keyboard. This is often held by many small screws or plastic “rivets.”
Removing the Old Unit: If it is held by screws, remove them. If it is held by melted plastic rivets, you will need to carefully snap them off or use a hobby knife to slice the heads.
Install New Keyboard: Drop the new keyboard into place. Ensure the main ribbon and the backlight ribbon are fed through their respective slots correctly.
Secure: If you snapped plastic rivets, you may need to use small dabs of electronics-grade adhesive or specialized tiny screws (if provided with the kit) to ensure the keyboard doesn’t “flex” when you type.
Step 6: Reassembly
Reverse the process: Reinstall the motherboard, reconnect all ribbons, and put the fans and battery back in.
Testing: Before snapping the bottom cover back on, plug the battery in and do a quick “POST” test to ensure the laptop turns on and the keys respond.
Important Tips
Ribbon Orientation: The blue tab on the ribbon cables should always face up (away from the board) or follow the orientation of the original cables.
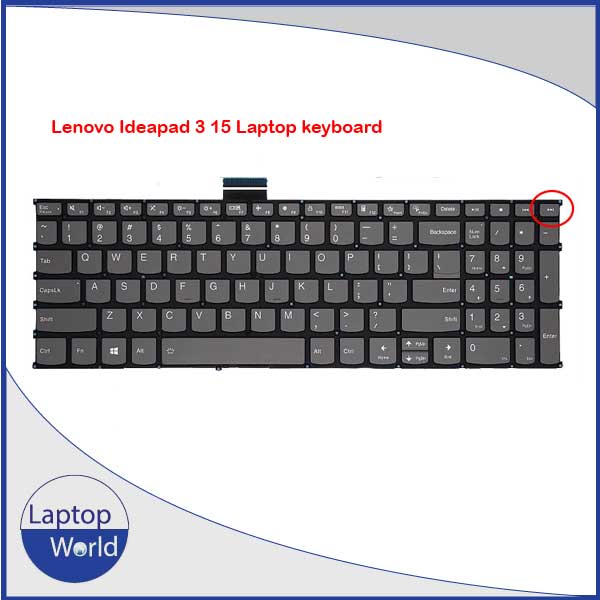
Backlight: This model has two cables (as seen in your image). The wide one is for data; the narrow one is for the backlight. Both must be seated perfectly in their ZIF (Zero Insertion Force) connectors.
Reviews
There are no reviews yet.